
navigation:
|
|
|
| Introduction: | |
| Someone
asked how I inserted earrings and noserings on my custom ponies. I
thought it was obvious, but I guess not! Here's the way I do
it. It's pretty easy to pierce a pony, provided that you have the
right equipment.
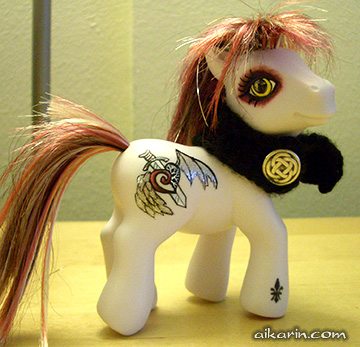
The pony in this tutorial, Princess Tragedy, was completely finished before I gave her the piercings. If this is your first time, please practice on a baity pony or consider inserting the piercings BEFORE you start customizing. If you damage the plastic, there's no way to restore it to the original state. I'm not
responsible for any injury to yourself or your pony. |
|
| Supplies needed: | |
|
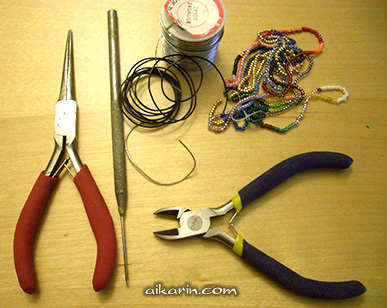
Base pony - any pony will do ^_^ Pliers - for
gripping the piercing and inserting it into the pony Wire - you can use any color. The silver-tone wire is 24 gauge. The black wire is coated with plastic and a slightly heavier gauge. You can get wire at the hardware store or jewelry making supply store. Seed beads - for decorating the earrings Tacky glue (not pictured) - for securing the beads to the wire Wire cutters - self-explanatory! |
|
| Instructions: | |
| 1.
Planning Plan out where you want the piercings. Once again, this pony was completed before I inserted the piercings, but it's probably better to add the piercings before you start. This pony will have two earrings, a nose ring, and an earring on the opposite side. |
 |
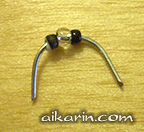
| 2.
Prep your rings Cut the wire just a tad longer than the actual length of the piercing & bend into a "U" shape. If you want beads, put a dab of tacky glue in the middle, then slide the beads on. Wait until they are dry before inserting the piercing. |
|
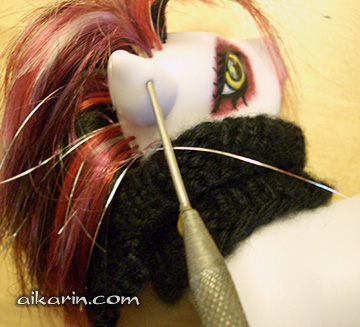
| 3.
Pierce the pony! Using the needle tool, insert it into the area you want pierced. Twist & wiggle it around, working it slowly ALL THE WAY through the plastic. Be VERY CAREFUL here not to stab yourself accidentally!! If you haven't painted the pony yet, you can try using a hairdryer to warm up the plastic. This will make it softer & easier to pierce. Leave the needle in the pony for a few minutes and this will make a small passageway to insert your wire.
|
 |
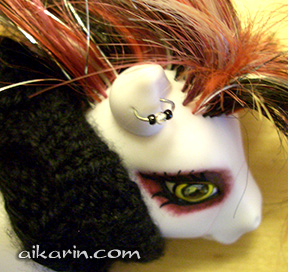
| 4.
Quickly insert the wire! Using the pliers, pick up one end of the wire. Remove the needle tool & VERY QUICKLY insert the wire into one side. Then, use the pliers to bend the other side into the hole. Hold the wire in place for a few seconds and the plastic will close up on the hole, securing your new piercing. If you are TOO SLOW, the plastic will close up before you can get the piercing in. In that case, repeat step #3, and try again! |
 |
|
Piercing eyebrows & noses uses a similar technique. I prefer to make these a little longer, then bend them closed from the INSIDE of the pony's head using needle-nose pliers. |
|
| A Link?: | |
|
|
|


Return to Custom Tips & Tutorials Page