navigation:

| Re-rooting Tutorial - Aikarin Style! | |
| Well, it's about
time that I wrote a "How To Reroot" guide! ^_^ This is
one of the most frequently requested things I get through e-mail. This particular method is relatively easy to learn, but it's tedious as with all methods of re-hairing. It's also fairly foolproof. I like this method because it doesn't use any glue. No worries about glue discolorations, glue globs ruining your pony's paint, or glue drying out & failing over time. The pony used in this example is NOT a custom pony. She's a UK Starlight Baby who came to me with a severe buzzed forelock...and yes, she's supposed to have that glossy finish! |
|
Tools:
|
 |
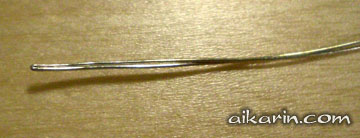
| Step 1: Making your wire loop
Cut about a 8-10" length of wire
& fold it in half. |
 |
| Step 2: Making your wire loop,
continued
Flatten the folded end with your pliers.
|
 |
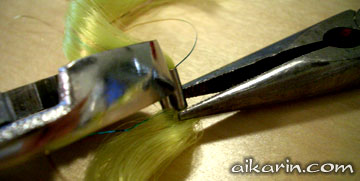
| Step 3: Prepping MLP tail hair
Remove from tail clip using
pliers. |
 |
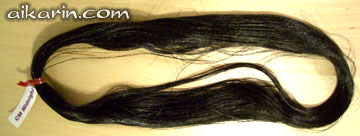
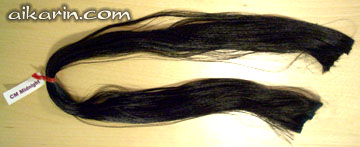
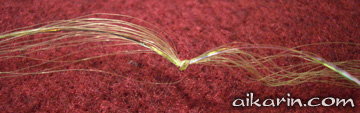
| Alternate Step 3: Prepping
Saran hair
This is a standard sized skein. I tighten the twist tie on one side & attach the label. Then, I cut the loop open at the opposite end. Hold the skein by the twist tie & give it a gentle combing to align the hairs. |
   |
| Step 4: Making the locks Separate enough for one lock & tie a knot in the middle. It's going to be half the amount in a standard lock, since you're doubling the hair by folding it in half. Most people make a bunch of locks at a time...seems to be a little faster. Do not make the locks too thick. Otherwise the hair will not sit correctly on the pony's head. Also, this is harder to pull through the pony's head & may break your wire loop. Also, don't make the locks too thin, otherwise your custom will look like it's hair is thinning. That's one ugly custom! LOL! You want to get it "just right"! ^_^ |
 |
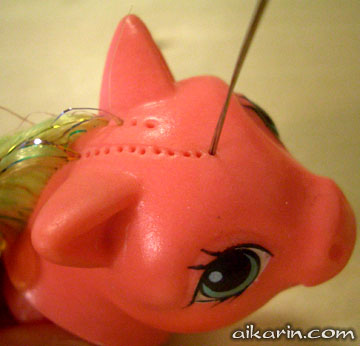
| Step 5: Inserting the wire
loop Place the closed end of the wire loop through the pony's head on the outside. |
 |
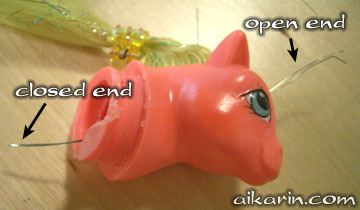
| Step 6: Pull the loop through
It helps to have needle nosed pliers to assist in pulling the wire loop through. The open end should be sticking out. The closed end will go through the neck hole. |
 |
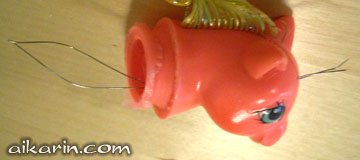
| Step 7: Opening the wire loop
Easy enough...just open the loop with your fingers. |
 |
| Step 8: Loading the hair
Place one folded lock of hair through the opening you just made. See how the knot is at the bottom & the open ends of the hair are on the other side. |
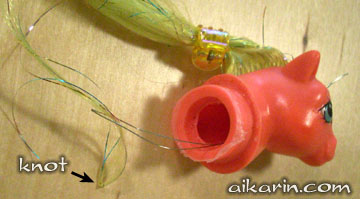 |
| Step 9: Pulling the hair
through
While holding onto the knot, pull the
hair through the hole. The closed end of the wire loop has passed
through the hair hole & dragged the new lock of hair with it.
Tug on one side to pull the rest of the hair through. |
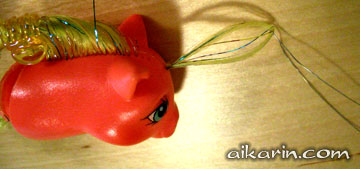 |
| Step 10: Completed!
Voila! The hair is now in place with the knot on the inside of the head. Congratulations! ^_^ |
 |
|
|
|